
CapCut is a popular video editing app, loved by all ages, that allows users to add music, stickers, text, and special effects to their videos. Initially, it was only available on mobile devices, perfect for editing short clips for social media or personal projects. Here you learn h ow to Download CapCut for Windows | Easy and Fast Installation
Now, CapCut is also available for Windows PCs, which is exciting news for video creators. The computer version offers a bigger screen and more workspace, making it easier to create and edit videos with greater detail and control.
This guide will walk you through the simple process of downloading and installing CapCut on your Windows PC. Once installed, you’ll be ready to jump into the app and start creating amazing videos on a larger, more user-friendly interface.
Why Download CapCut on Windows?
Before diving into the process, let’s consider the reasons someone might choose to utilize CapCut on a computer.
- Larger Display – Using a computer, the enhanced screen offers a more detailed view of your footage.
- More Comfortable – Editing becomes simpler with a mouse and keyboard at your disposal.
- Ideal for Extended Clips – Working on lengthy projects is a breeze with a more spacious interface.
- Perfect for Academic Assignments – Students can create presentations, science experiments, or historical documentaries.
- Creative Enjoyment – You can craft family videos, birthday montages, or even whimsical tales with your friends.
Step 1: Open the Official CapCut Website:
To obtain CapCut for Windows, begin by visiting the official website. Launch your computer’s web browser, like Chrome, Edge, or Firefox. In the search bar, enter “CapCut Download for Windows” and hit enter.
Ensure you only select the authentic CapCut website. This safeguards your computer from counterfeit downloads. The site will provide the download button for you.
Step 2: Download the Installer
Upon visiting the website, seek out the button labeled “Download for Windows”. Click on it, and your computer will initiate the download of a file known as the installer. The installer is compact, and it assists your computer in setting up the complete CapCut application. Hold on for a few moments or maybe a couple of minutes until the download completes. You can typically find the file at the bottom of your screen or within your “Downloads” directory.
Step 3: Run the Installer
Once the download is complete, locate the setup file and double-click it. A prompt will appear asking, “Would you like to permit this application to modify your device?” Select Yes.
The installation interface will launch. Adhere to the directions displayed on your screen. Typically, you merely need to click Next a few times, followed by clicking Install. Your computer will then configure CapCut for you.
Step 4: Finish Installation and Open CapCut
After the installation concludes, a button labeled ‘Finish’ will appear. Click on it, and CapCut will be prepared for use.
You can now locate CapCut in your computer’s Start Menu or on your desktop. Double-click the icon to launch it. Congratulations—you have successfully downloaded and installed CapCut for Windows!
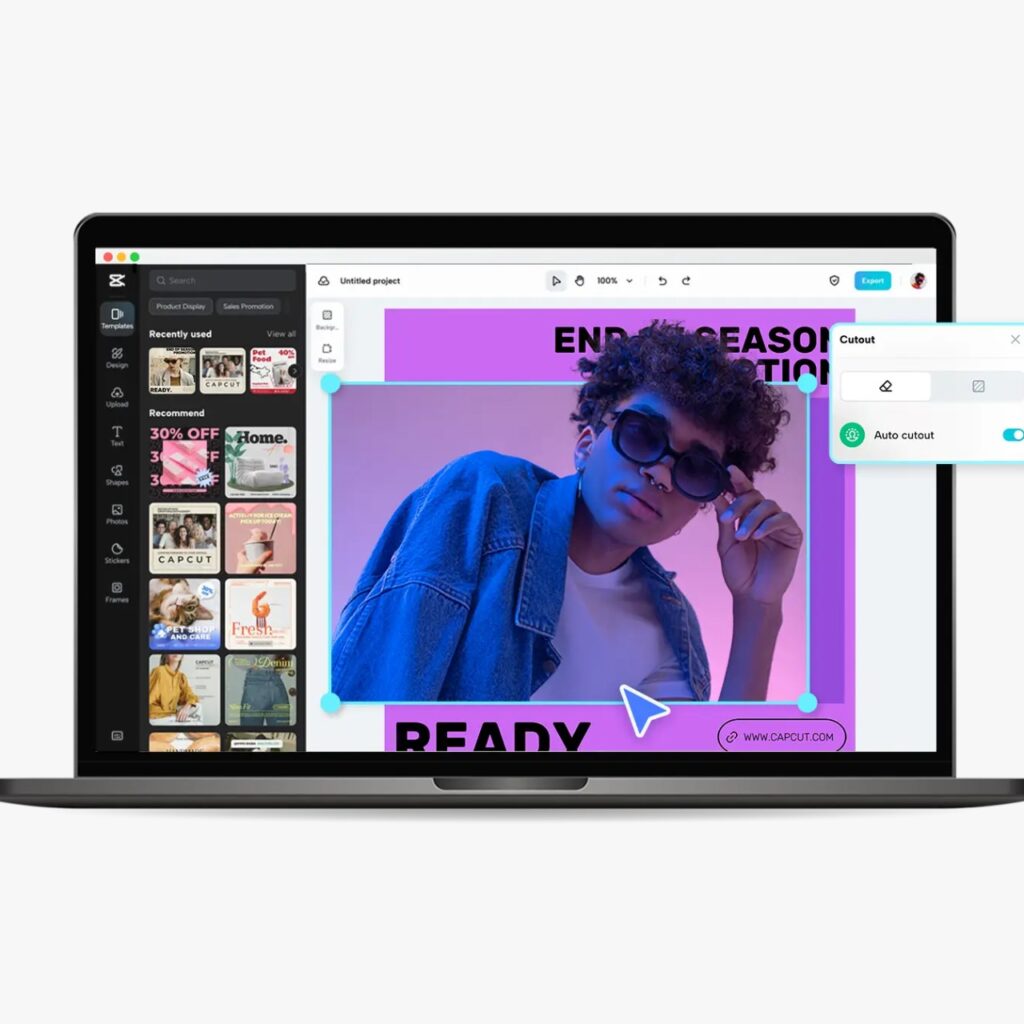
First Look at CapCut on Windows
Upon launching CapCut, a straightforward interface greets you. Look for a button labeled New Project. Hit it to begin your editing journey. You can subsequently import videos, images, or audio files from your computer.
The editing features are positioned at the bottom and along the sides of the interface. On a larger display, you’ll find that everything is more spacious than when using a mobile device. Here you learn How to Download CapCut for Windows | Easy and Fast Installation.
Fun Things You Can Do with CapCut on Windows
CapCut offers a variety of enjoyable tools to enhance your videos with a professional touch:
- Incorporate Music: Select from CapCut’s extensive library or upload your favorite tracks.
- Utilize Stickers: Add playful images or emojis to embellish your video.
- Insert Text: Create titles, captions, or humorous remarks.
- Special Effects: Apply sparkles, slow-motion, or vibrant filters.
- Transitions: Seamlessly transition between various video clips.
- Templates: Leverage ready-made styles to rapidly complete a video.
For instance, if you aim to craft a birthday tribute for a friend, you can include music, colorful balloon stickers, and a message that reads “Happy Birthday!”
Why Students Love CapCut for Windows
Grade 5 students can use CapCut for many school activities:
- Scientific Endeavors: Document an experiment and insert captions to clarify each phase.
- Historical Essays: Produce a visual timeline accompanied by images and voiceover.
- Creative Works: Display your artwork or handmade items with lively background tunes.
- Narration: Craft your own brief film utilizing photographs and video snippets.
This enhances the learning experience and aids students in developing their imaginative and technological abilities.
Tips for a Smooth Installation
sometimes, children might encounter minor issues during the software installation process. Here are some suggestions to ensure everything proceeds without a hitch:
Inspect Storage – Verify that your device has ample space available.
Reliable Connection – A strong internet link accelerates downloads.
Seek Assistance – If you encounter pop-ups or are confused about anything, request help from an adult.
Authorized Source Only – Always download CapCut from trusted websites, never unfamiliar ones.

Safety Rules When Using CapCut
Staying safe during online video editing is crucial. Consider these easy safety guidelines:
- Refrain from disclosing personal details in your videos.
- Always seek consent prior to uploading videos online.
- Practice kindness and respect when creating or sharing content.
- Utilize CapCut primarily for enjoyment, education, and creative expression.
Conclusion
CapCut is an incredible application that transforms ordinary videos into something thrilling. The Windows edition simplifies the editing process thanks to its larger display and more responsive controls.
Getting CapCut for Windows is a breeze. Simply head to the official website, click on download, run the installer, and launch the application. In just a few moments, you’ll be set to start creating!
Whether you’re tackling a school assignment, crafting a video for relatives, or simply enjoying time with friends, CapCut provides all the resources you need. And the best part? It’s completely free!
So, if you’re using a Windows PC, give CapCut a shot today. Its installation is quick and straightforward, opening up a world of endless creative possibilities. So, here you learned How to Download CapCut for Windows | Easy and Fast Installation step by step.
Add a Comment