
Ever get the feeling that you’re only scratching the surface of what’s possible with CapCut? You’re not alone! The folks who edit videos in CapCut tend to use advanced tools the least often. But here’s a secret, for Hidden CapCut Features Most Editors Don’t Know About, CapCut has some super-cool features that can make your videos look really professional.
Think of it as having a treasure chest but being able to use only the coins on top. Today, we’re going to explore and uncover the real gems that lie beneath!
What Makes CapCut So Special?
Before we get to the hidden features, let’s discuss why CapCut became so popular. It’s free, it operates on your phone and computer, and it is fairly easy to learn. But the best part? The folks at CapCut continue to introduce new tools that would excite even the fancy Hollywood professionals.
The trouble is, a lot of those cool features also happen to be hidden away in the crevices nobody usually looks. Let’s change that right now!
The Magic of Keyframes
“Keyframes” may sound complex, but they’re actually about to become your best friend. Let’s assume you’re trying to make a picture slowly zoom in, or have someone read some text that moves around the screen all cool like. Keyframes allow you to do just that Hidden CapCut Features Most Editors Don’t Know About!
Here’s how it works: You indicate where something begins and ends, and CapCut takes care of all the motion in between. It’s like magic!
If you want to add keyframes, just tap on any clip in your timeline. Find the diamond icon, that’s your keyframing button. Add one at the beginning of your clip, then go to a different spot and add another one. Alter the size, position or rotation at both of these points and let CapCut interpolate smooth movement between them for you.
There are a lot of uses for this. When you say something amusing, zoom in on your face. Make text bounce across the screen. Make stickers move. You’ll question how you ever edited without keyframes once you start using them!
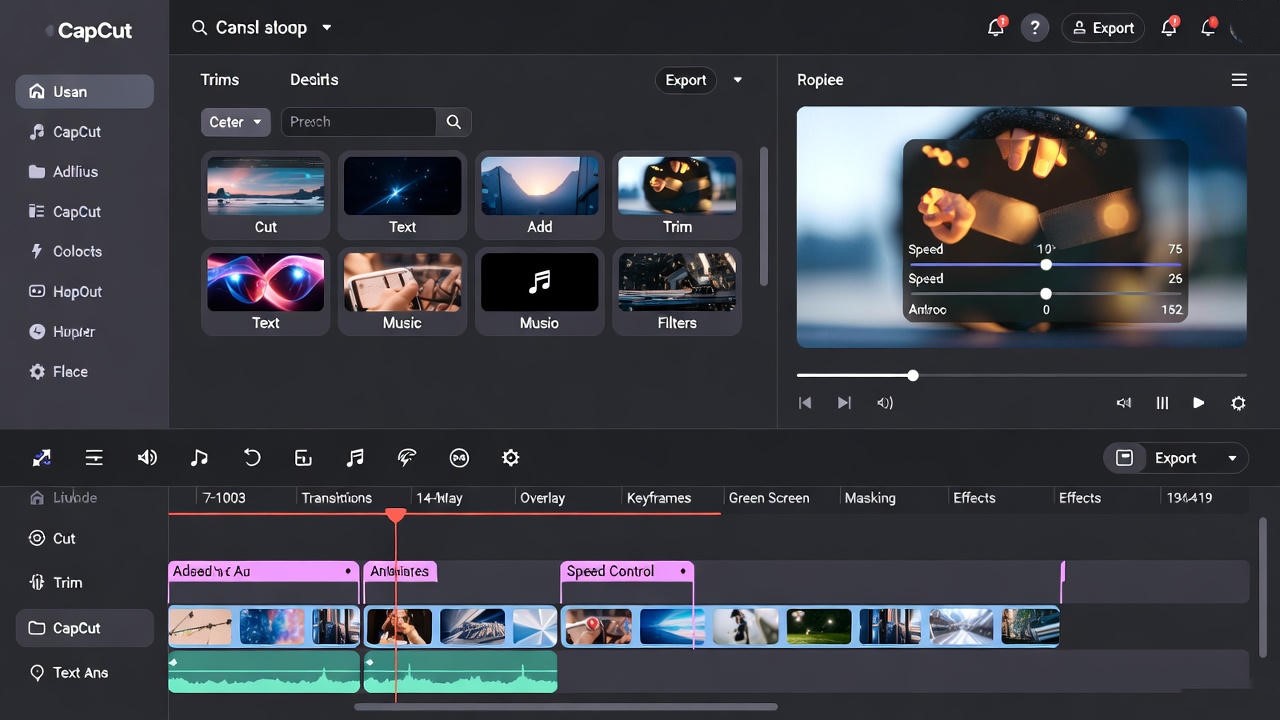
The Hidden Speed Curve Tool
Most people are aware that CapCut allows you to adjust the speed of videos. However, did you know that there is a unique tool that allows you to alter speed in incredibly inventive ways?
It is concealed in the speed settings and is known as the Speed Curve. You can start your clip slowly, accelerate in the middle, and then slow down again instead of just making it fast or slow throughout. This produces the seamless, polished transitions you see in well-known videos.
Choose your clip, press Speed, and then search for “Curve” at the top to locate it. There are choices like “Montage” and “Hero Moment.” They all produce distinct patterns of speed. Try them all to see which one looks the best in your video!
For sports videos, dance clips, or any other moment you wish to highlight, this tool is ideal. It gives it a polished appearance that leaves people wondering, “How did they do that? and Hidden CapCut Features Most Editors Don’t Know About.”
Smart Stabilization That Actually Works
You do realize that shaky videos are the worst? It’s possible that you were moving while filming or that your hand moved because you were too excited. Fear not—CapCut’s stabilization feature can resolve this!
The majority of people only employ the most basic stabilization, which is the secret. However, “Standard” and “Extra” stabilization modes are available if you delve into the settings. The Extra mode puts more effort into smoothing out your video.
The trick is that excessive stabilization can occasionally cause your video to appear somewhat cropped or strange. Try both settings to determine which one best suits your particular clip. Sometimes you need that extra power, and other times standard is sufficient.
Many videos that people nearly deleted because they were too shaky have been saved thanks to this feature. You can now save yours as well.
The Secret Sound Effects Library
Everyone knows CapCut offers music, but not everyone is aware of the vast library of sound effects available. We’re talking about whooshes, boings, explosions, crowd cheers, and hundreds more.
These sound effects can make your videos much more fun and engaging. Imagine adding a “whoosh” sound when text appears or a “ding” when you make a good point. These small sounds make your videos feel more alive.
To find them, go to Audio. Then look for “Effects” instead of “Music.” You will see sounds organized into categories like Funny, Vlog, Gaming, and more. Download a few and try adding them to your videos. You will be amazed at the difference they make.
Pro tip: Don’t go overboard with sound effects. Use them to highlight important moments, not for everything. Too many sounds can be distracting!
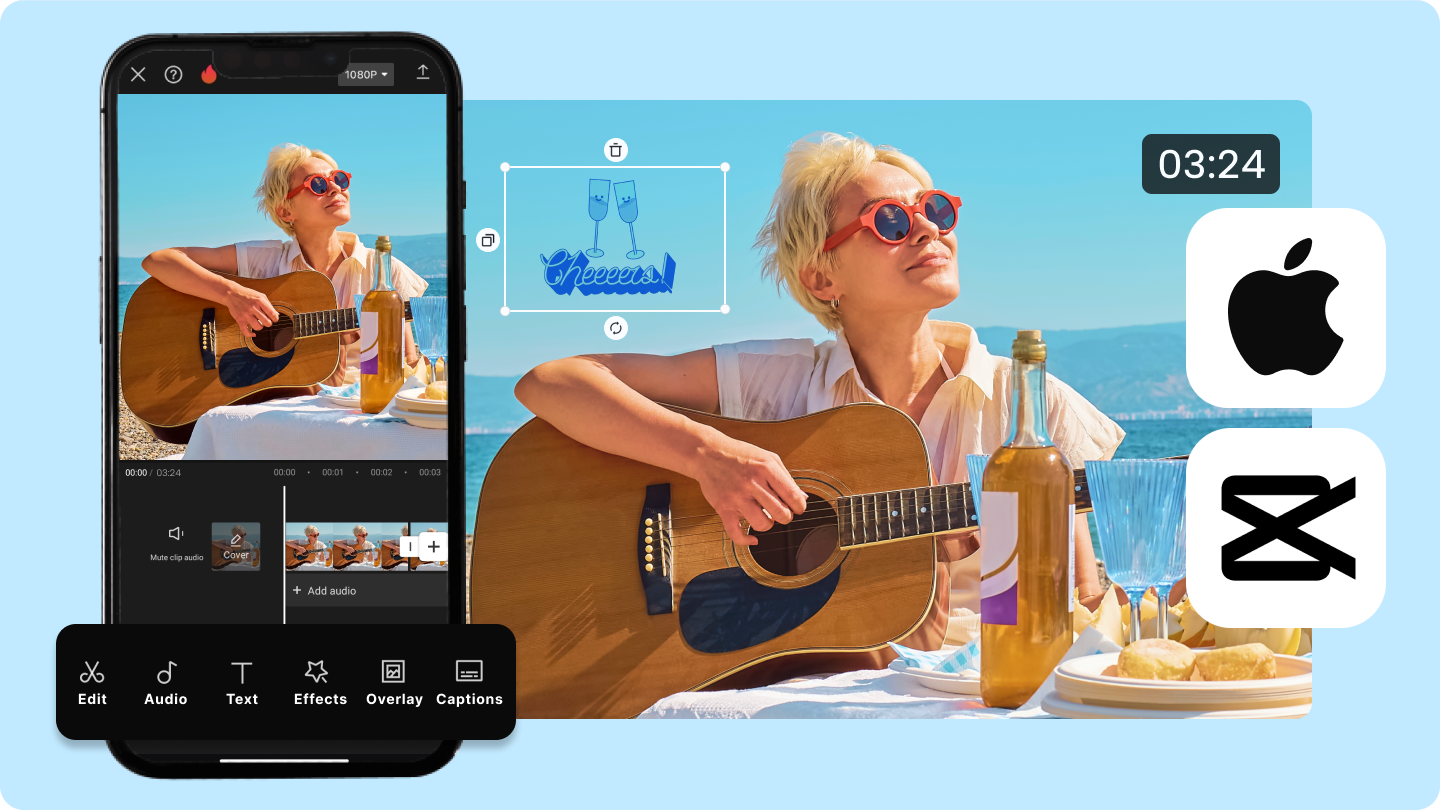
Auto Captions – But Make Them Better
By now CapCut and its feature to auto objects your videos with captions are quite popular among users. But most of them do not pay attention to the fact that these captions can be completely amazing in their customization!
Generate captions automatically, and then enhance their quality by editing them. On the captions hovered with your mouse, there will be some options to change it in the way you want. You can:
- Change the animation style so words pop in differently
- Add backgrounds to make them easier to read
- Change colors to match your video's vibe
- Adjust the timing if CapCut got something wrong
- Split long sentences into shorter, easier-to-read chunks
Some of the best animation options are not those with the word appearing on the screen but those that can let word fly in, bounce or fade. It is this that make eyes of your viewers never leave your video.
The second thing you should do is to always be on the lookout for auto captions. There can be slight inaccuracies of what you are saying by CapCut sometimes, particularly if you speak fast or use slang. Just a brief check can keep you from getting into a situation of making quite silly mistakes.
The Remove Background Magic
This capability is actual magic feeling. Use CapCut to remove background from videos automatically w/o a green screen!
Choose which clip you want, search for “Cutout,” and select “Auto Cutout.” CapCut will process your video and attempt to pull you out in front of the background. That it does best when well-lit and you’re not moving around too much.
Once the background is gone, you can place whatever you like behind you. Place yourself on a beach, or in space, or in front of a nifty animation. The possibilities are endless!
It’s not perfect, this feature -– sometimes it gets confused and removes pieces it shouldn’t, or leaves behind material it should remove. But when it’s good, it can produce effects that once would have taken expensive software.
Layer Secrets Nobody Talks About
Layers are a huge part of video editing, but CapCut’s layers are confusing at first. Here’s what you need to know: You can layer videos, images and text over one another, and CapCut refers to this as “Overlay.”
Here’s the secret: You can have more than one overlay at a time! Need a two-frame picture-in-picture of two clips, text and a sticker? You can do all of that!
To add an overlay, click “Overlay” followed by “Add Overlay.” You might opt to add another video, a photo — or you can start recording more right there. You can move, resize and edit each overlay independently.
Cool tip: You can use overlays to make split-screen effects. Add one overlay, resize it to half the screen, then add another and do the other half. You should have two videos playing next to each other now!
Creative Shape Transitions with Mask Feature
Masks seem very technical when you hear the name. A mask is basically fun once you grasp the concept. A mask helps you conceal or display your video in different shapes.
Masks can be found in the Effects menu. Begin with ‘Linear’ mask – it will give you a gradient effect and help you to achieve cool transitions. You can use shape masks for a ‘circle’, ‘heart’, ‘star’ shape for your video.
The truly creative video editors are those who use masks to combine two videos in interesting ways. For example, you could play one video on the left side of a frame and another video on the right side of the same frame by using a mask.
Masks are a bit of a learned technique, but it is absolutely worth learning them; they are incredibly versatile!

Color Adjustments That Transform Your Videos
Generally, most users never go near the color settings in CapCut, which is a huge error as working with color can make your videos look as if they are professionally made, cinematic, or fit a certain ambiance.
Tap “Adjust” on your clip to discover tons of options:
It is used to make the video brighter and/or darken it.
Contrast enhances the difference between bright and dark regions.
Saturation increases or decreases the vividness of colors.
“Temperature” causes the video to appear warm, or orange, and cool, or blue.”
This is a secret: almost every pro editor tweaks their videos at least a bit. Maybe to enhance contrast to stand out more in their image, or to give it a warmer, friendlier tone.
Plus, you can experiment freely, and you will be able to reverse the changes if you do not like them. This will give you an understanding of how each feature works.
The Smooth Slow-Motion Secret
The application has a unique feature known as ‘Optical Flow’ that smoothen the slow motion effect, making it super smooth. The slow-motion effect may appear choppy, but the optical flow effect smoothens it by filling the gaps in between the frames.
To slow down your clip, look for the Speed options. Under “Normal,” you’ll see a “Curve” option. But look even further – there’s a little “Optical Flow” option you can check.
It works best with clips recorded in good lighting and with not too much quick action in the video. It is not a miracle worker when it comes to videos, but when it does work well, it is pretty amazing!
Motion Tracking for Next-Level Videos
This might very well be the most advanced hidden feature of CapCut, but it is also such a cool feature that you must give it a try. The feature of motion tracking allows you to place text or stickers over the objects moving inside the video.
You could think of pointing towards something, with lines or text tracing your finger. Or think of tracing your way around with your name trailing behind. That’s what motion tracking is.
To apply it, you need to add some text or stickers to your video. Next, you need to find where the tracking feature is. This feature might be found at the “Effects” section. Then, you need to select what you want to track in your video. CapCut will attempt to track it throughout your video.
“This effect isn’t foolproof—and occasionally it’ll lose the object—but when it’s working, it creates effects that look absolutely professional.”
Making the Most of Templates
CapCut’s templates are the rage, but here’s a secret that few people know: You can modify templates after the video is exported! You are not forced to maintain everything the way it is.
Select a Template in Final Cut Express. Organize Your Clips.
- Switch to a type of music you like better
- Refine the transitioning of timings
- Add your text or use stickers
- Change colors and effects
Hidden CapCut Features Most Editors Don’t Know About tells you not include parts that are not liked. Templates are intended to be a starting point, not a result. Feel free to personalize your templates to make them yours alone!
Conclusion
CapCut is kind of like an iceberg. The tip of it is what most people get to see. But there is a world of things beneath the surface. These are things that can take your videos from average to amazing just by being utilized. Here’s the conclusion of Hidden CapCut Features Most Editors Don’t Know About.
The best way to learn what these tools can do is to play with them. Choose one of the features discussed in this article, and play with it for a bit. Make mistakes, see what happens, and so on. This is exactly how every good editor learned their trade.
Always remember that you do not necessarily have to make use of all the features available in all the videos. In fact, there may be occasions when less is more. However, being aware of all the tools available to you is like having them at your beck and call when you especially want that little extra something. Here, you must know about Hidden CapCut Features Most Editors Don’t Know About.
“Now go create some awesome videos! And when people ask about the trick behind making videos so flawless and awesome, you can smile knowingly and claim that you know some secrets of CapCut.”
Add a Comment