

Editing videos on an iPhone has become very easy thanks to apps like CapCut. It is widely used by beginners, content creators, and social media users because it offers powerful tools in a simple layout. You do not need professional skills to start; you just need a CapCut iPhone Editing Guide of what you want to create.
CapCut iPhone Editing Guide, This guide will walk you through CapCut on iPhone in a natural, easy-to-follow way so you can start editing confidently.

Getting Started with CapCut on iPhone
First, you need to install CapCut from the App Store. Once installed, open the app and allow permissions like access to photos and videos. This is necessary so you can import your media.
After opening the app:
- Tap “New Project”
- Select videos or photos from your gallery
- Click “Add” to bring them into the editing timeline
The timeline is where all your editing happens. You can trim clips, add effects, and arrange your video in order.
CapCut keeps things simple, so even first-time users can understand it quickly.
Basic Editing: Trimming and Cutting Clips
One of the most important steps in video editing is cutting unnecessary parts. CapCut makes this very easy.
To trim a clip:
- Tap on the video in the timeline
- Drag the edges to shorten it
To split a clip:
- Move the playhead to the point you want
- Tap “Split”
- The clip will break into two parts
You can delete unwanted sections or rearrange clips to improve flow. This helps your video look clean and professional without extra effort.
Adding Music, Text, and Sound Effects
A good video always includes sound and text to make it more engaging.
Adding Music:
- Tap “Audio”
- Choose “Sounds” or import music from your phone
- Adjust volume as needed
CapCut also offers trending music that works well for social media videos.
Adding Text:
- Tap “Text”
- Select “Add Text”
- Type your message and choose font style
You can also animate text to make it more attractive.
Sound Effects:
Small sound effects can make your video more lively. You can add them from the audio section and place them at the right moments.
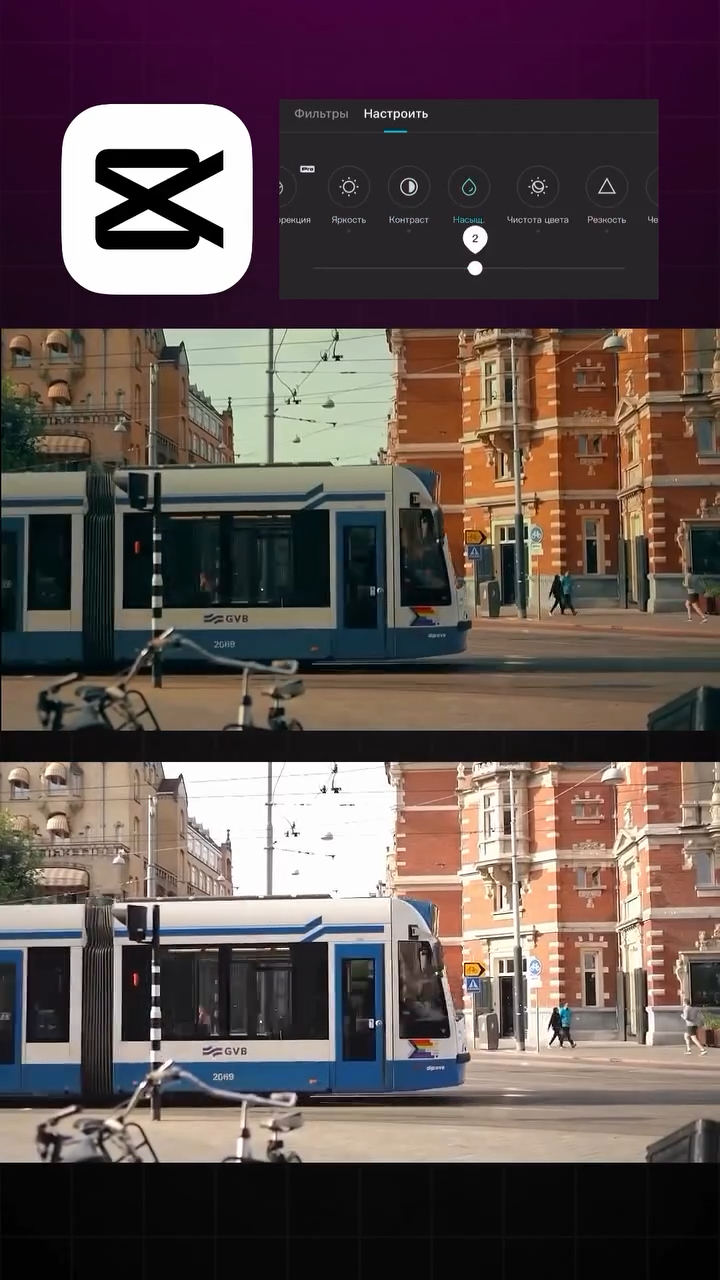
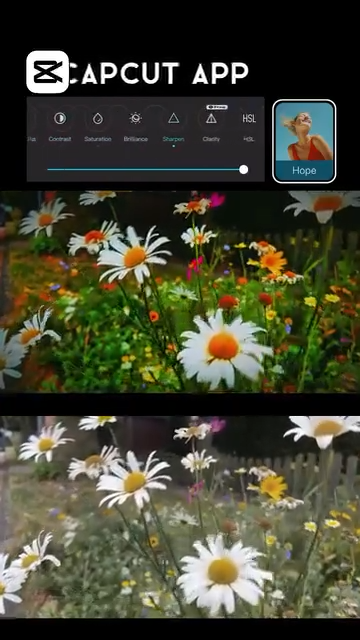
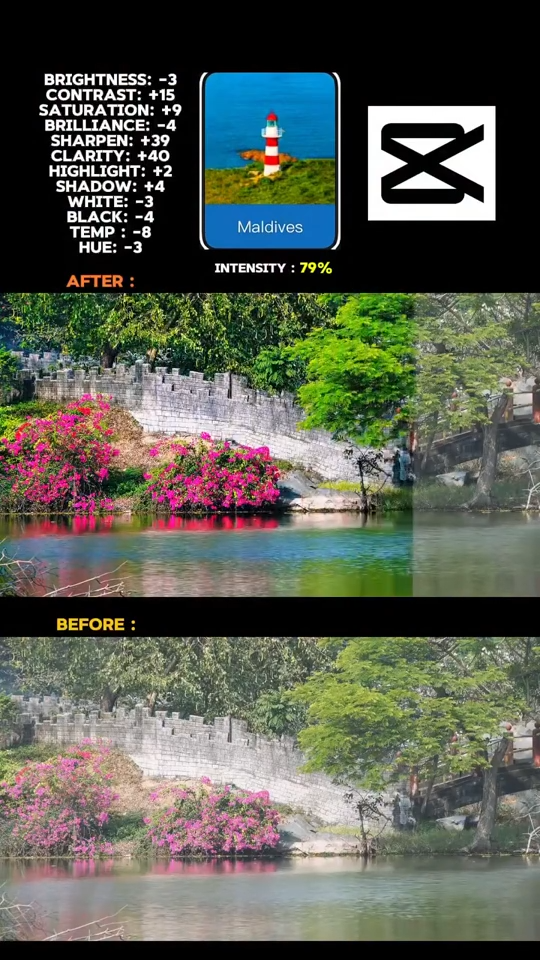
Using Filters and Effects for Better Visuals
Filters and effects help improve the look of your video without advanced editing skills.
To apply a filter:
- Tap “Filters”
- Choose a style that fits your video
- Adjust intensity if needed
To add effects:
- Tap “Effects”
- Browse categories like blur, shake, or glow
- Apply and adjust duration
These tools help make simple videos more engaging and visually appealing. However, it is better not to overuse them, as too many effects can make the video distracting.
Adjusting Speed and Transitions
Speed control is useful for creating slow-motion or fast-forward clips.
To change speed:
- Select the clip
- Tap “Speed”
- Choose normal, fast, or slow motion
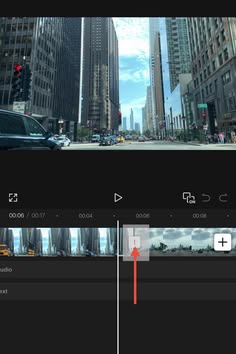
Transitions are used between two clips to make changes smooth.
To add transitions:
- Tap the small box between two clips
- Select a transition style
- Adjust duration if needed
Simple transitions like fade or dissolve often work best for clean editing.
Exporting and Sharing Your Video
Once your editing is complete, it’s time to save your video.
To export:
- Tap the export button (top right corner)
- Choose resolution (1080p is usually good)
- Save to your iPhone or share directly to apps like TikTok, Instagram, or YouTube
CapCut allows direct sharing, which saves time and makes posting easier.
Before exporting, always preview your video to check for mistakes or missing parts.
Final Thoughts
CapCut on iPhone is a powerful yet simple editing tool for beginners and creators. You can create high-quality videos using just your phone without needing expensive software.
By learning basic trimming, adding music, using effects, and exporting correctly, you can improve your content quickly. The key is practice—spend time exploring different features and you will get better with every video.
Add a Comment